To restore a FlatClient the cloning programm Clonezilla is used.
For the restore process you need two usb-sticks and one usb-keyboard.
Preparation
Create Clonezilla Boot-Stick
Actual used Clonezilla-Version: 2.7.0-10
Hint: There is an issue with older Clonezilla Versions.
-
Download the clonezilla iso image from https://clonezilla.org (https://clonezilla.org/downloads/download.php?branch=stable)
-
Download and install the rufus application from https://rufus.ie (https://github.com/pbatard/rufus/releases/download/v3.13/rufus-3.13.exe)
-
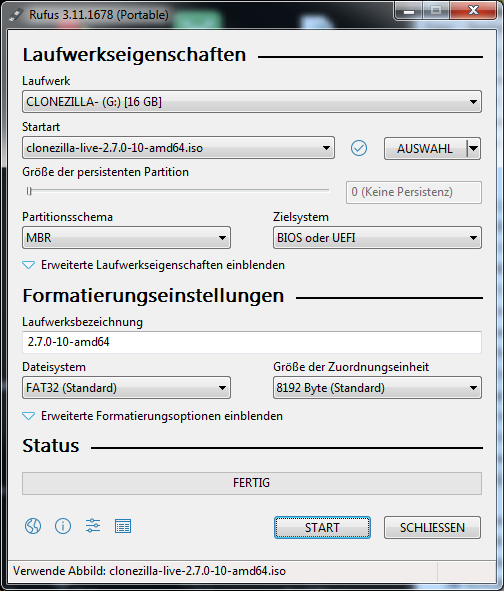
insert first usb stick to clone clonezilla and run rufus
-
-
Select empty USB stick
-
Use the "SELECT" button to select the ISO image.
-
Start the copy process.
Create Image Stick
-
Download Image from FTP to your computer
-
Unzip the Image to a empty USB stick (unzip to a folder)
The files have to be unzipped in a folder on the usb stick. otherwise Clonezilla will not recognize the image!
Restoring FlatClient
-
Connect Clonezilla USB stick to FlatClient
-
Connect USB keyboard to FlatClient
-
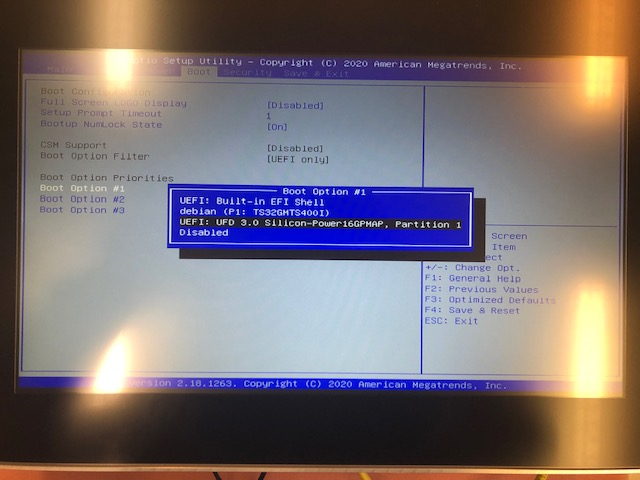
PowerOn FlatClient and open Bios menu (ESC key)
-
Select the usb stick as first boot option
-
-
Save and Exit bios.
-
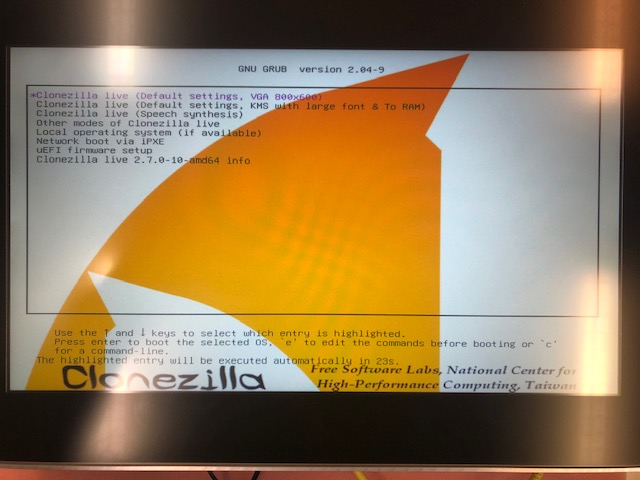
Select default as livesystem
-
-
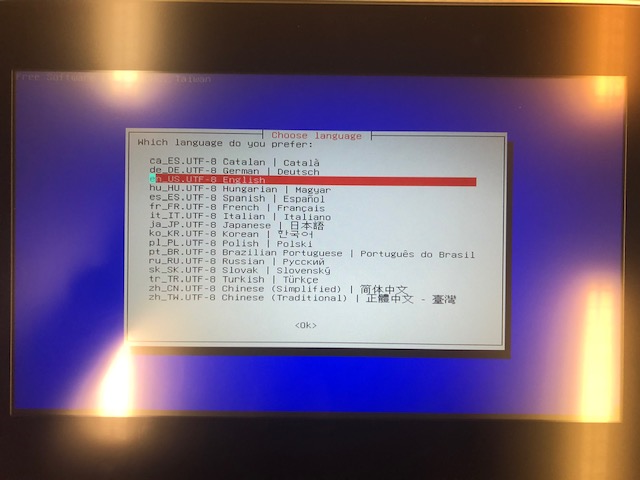
Select language english
-
-
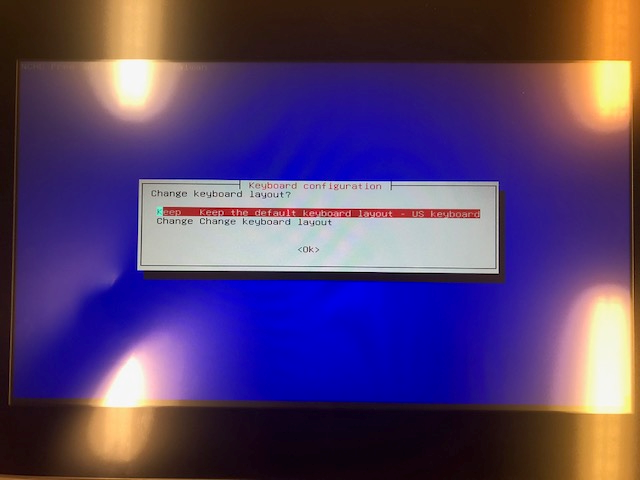
Select keep default keyboard
-
-
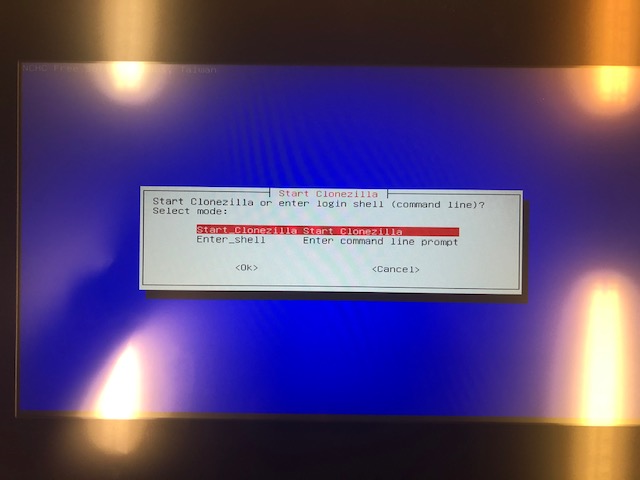
Select start clonezilla
-
-
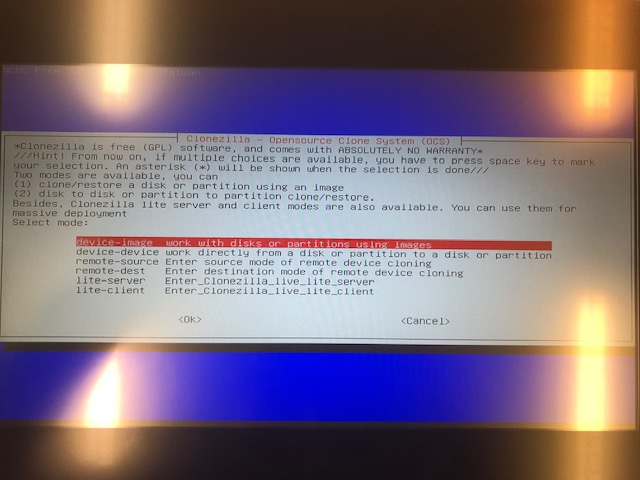
Select device-image
-
-
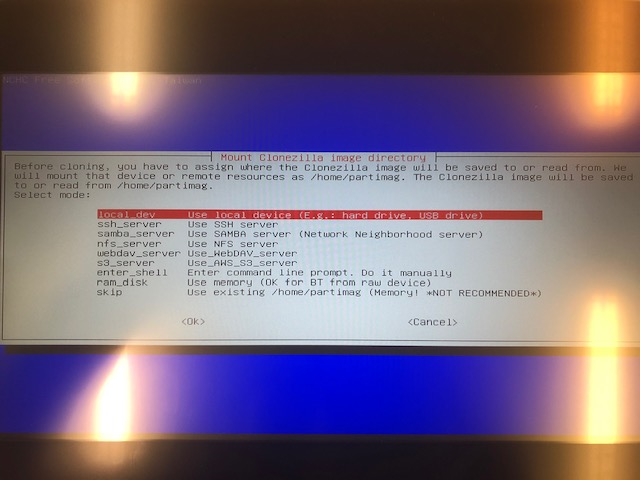
Select local_dev
-
-
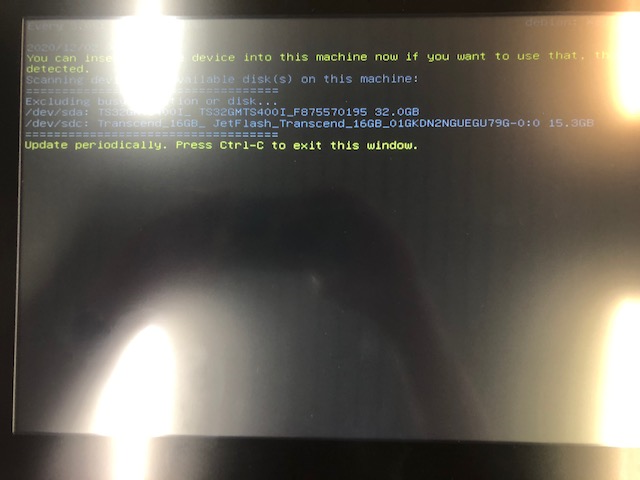
Connect Image USB stick to FlatClient and press enter
-
If the usb stick "sdc" exists press ctrl-c
-
-
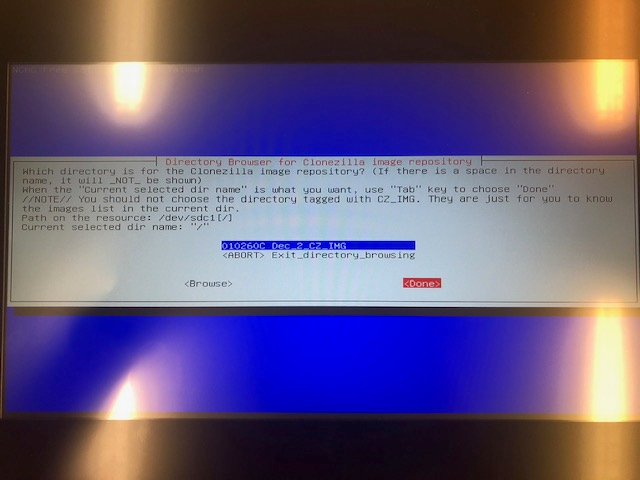
Select image usb "sdc"
-
-
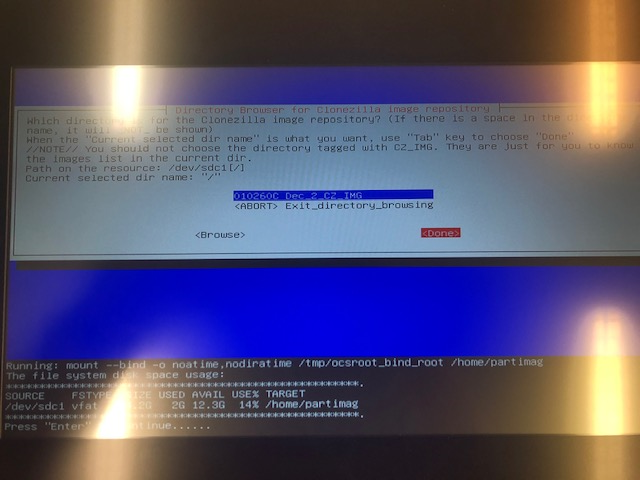
Select Done (use tab to navigate)
-
-
Press Enter
-
-
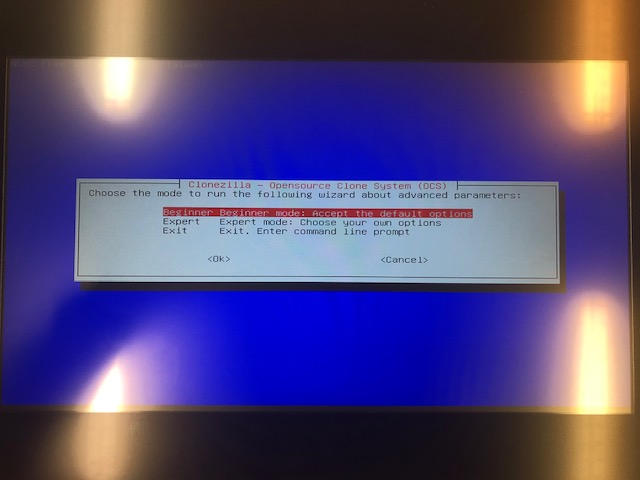
Select Beginner
-
-
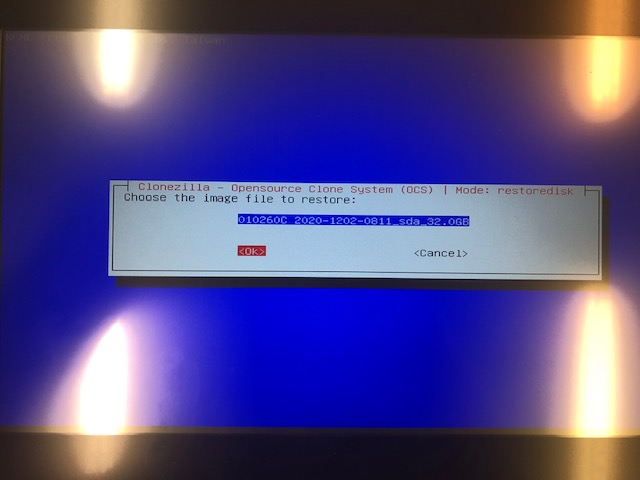
Select restoredisk
-

-
Select OK
-
-
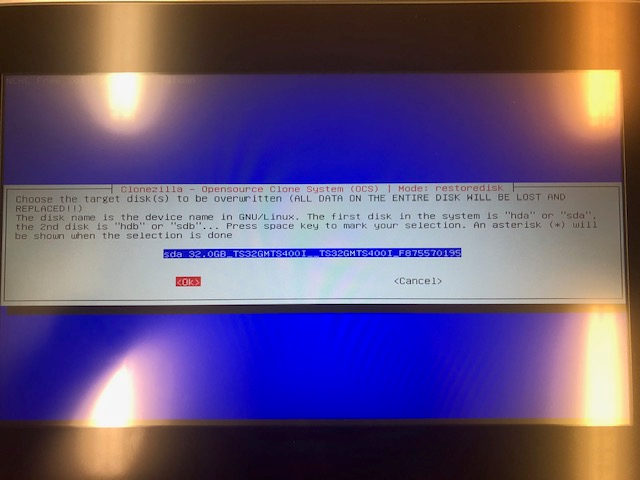
Select OK
-
-
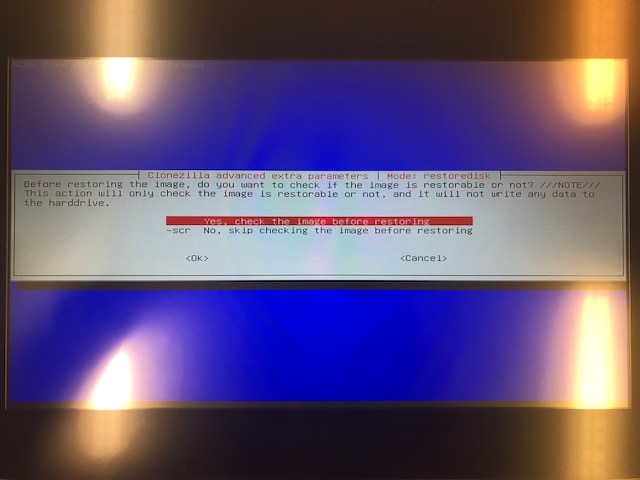
Select Yes check image
-
-
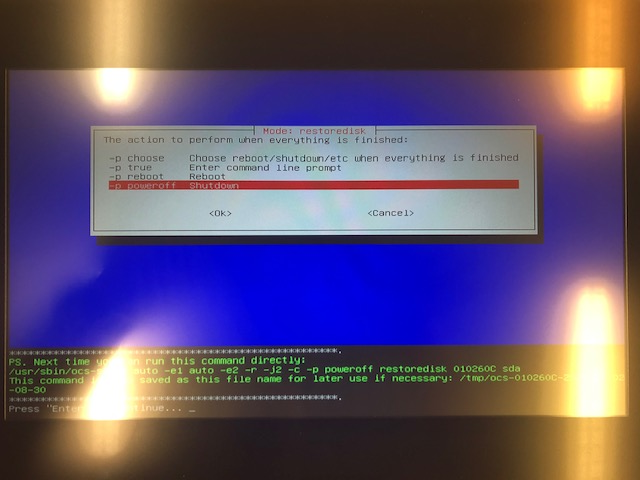
Select shutdown after restore
-

-
Press Enter
-
-
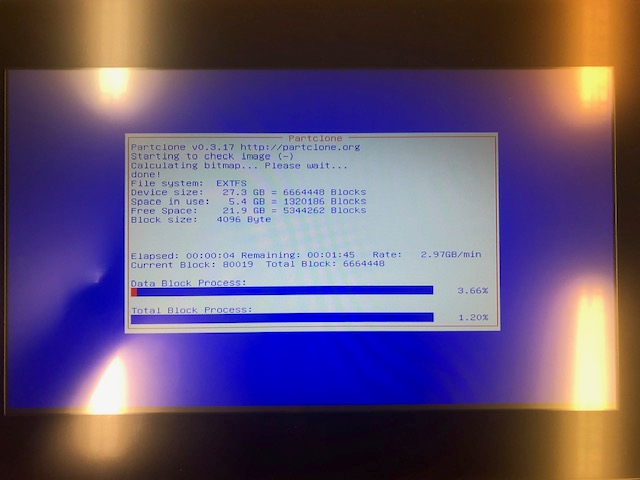
Clonezilla checks the image
-
-
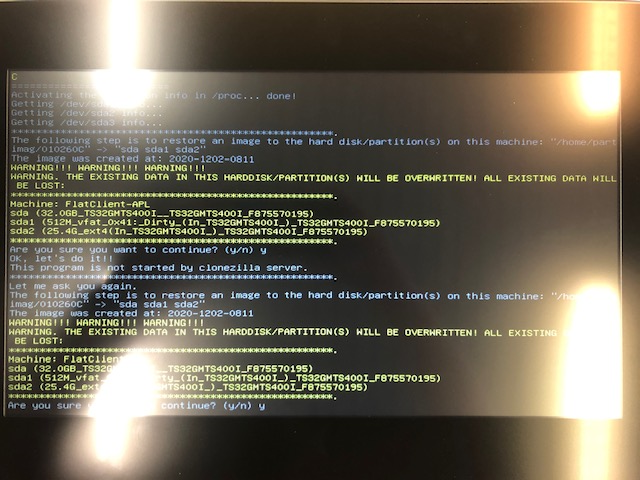
Press twice "y" to confirm and continue the restore process
-
-
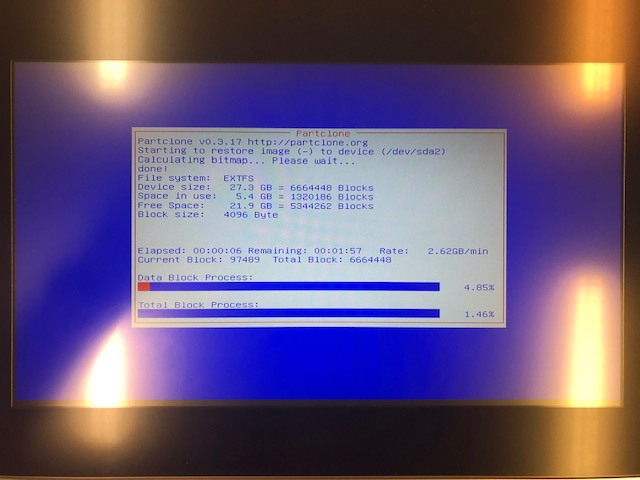
Clonezilla restores the image
-
-
After the shutdown of the FlatClient remove all usb sticks